
Clear audio is essential for effective communication, whether you’re hosting a virtual meeting, presenting in a conference room, or addressing a large audience. Even the best audio equipment can struggle to deliver quality sound when microphones and speakers aren’t positioned correctly.
Proper microphone and speaker placement helps improve speech clarity, reduce background noise, minimize feedback, and create a better audio experience for everyone in the room. Understanding a few basic placement principles can make a noticeable difference in how your audio system performs.
At TSI Global, we help organizations design and integrate professional audio-visual systems that support clear communication and reliable performance. Here’s what you should know about positioning your microphones and speakers for the best results.
Where Should You Place Your Microphone?
Microphone placement plays a major role in how clearly your voice is captured. A microphone positioned too far away may pick up more room noise than speech, while one placed too close can produce distortion, plosives, or uneven volume.
The ideal location depends on the type of microphone you’re using and the environment in which it’s operating.
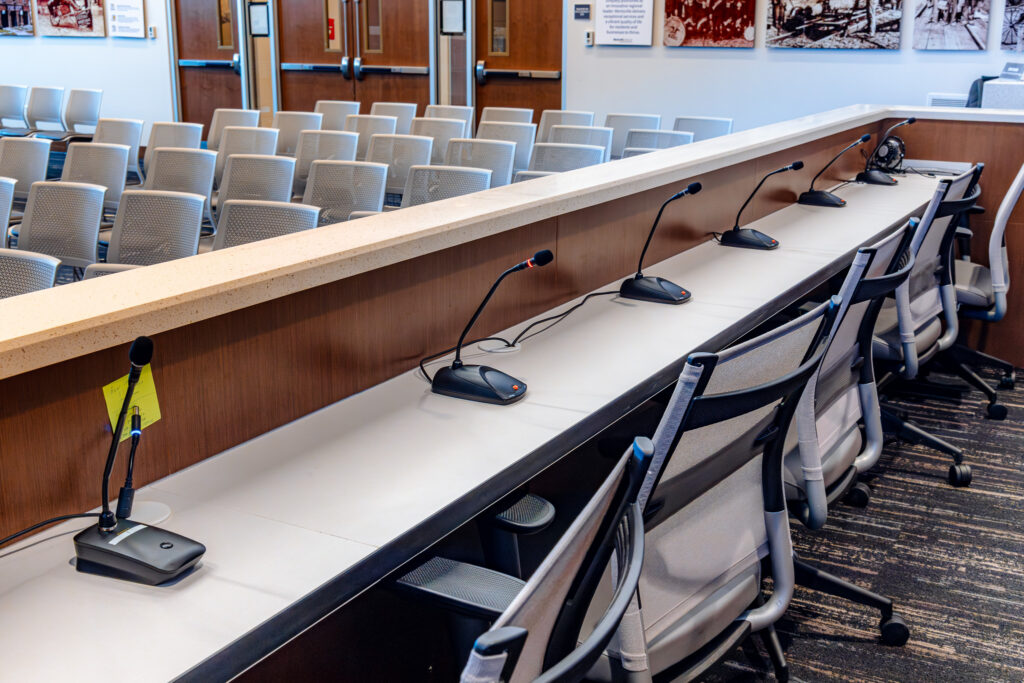
1. Keep the Microphone Close to the Sound Source
In most situations, placing a microphone closer to the person speaking improves speech clarity. The closer the microphone is to the intended sound source, the easier it is to capture the speaker’s voice without amplifying unnecessary background noise.
For desktop microphones, position the microphone within a comfortable speaking distance. For handheld microphones, keep it near your mouth without covering the microphone grille. Headset microphones should sit near the corner of your mouth rather than directly in front of it.
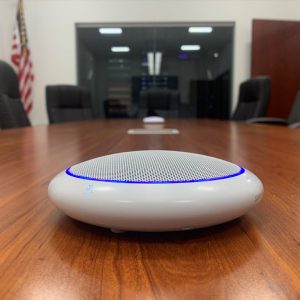
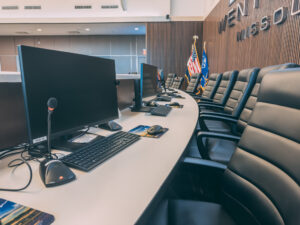
For conference rooms, tabletop microphones should be positioned where participants can speak naturally without needing to lean across the table.
2. Consider the Type of Microphone
Different microphones are designed for different applications, so placement should reflect their intended use.
- Desktop microphones: Place them near the person speaking, away from keyboards, computer fans, and other noise sources.
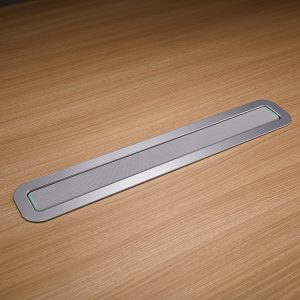
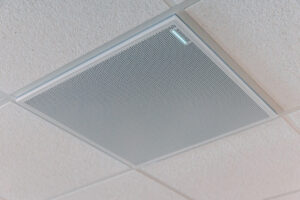
- Ceiling microphones: Position them according to the manufacturer’s coverage recommendations and the room’s layout. Avoid assuming one microphone will adequately cover an entire large conference room.
- Lapel microphones: Clip them near the upper chest, following the manufacturer’s guidance, and keep clothing from rubbing against the microphone.
- Handheld microphones: Maintain a consistent distance from the mouth and avoid pointing the microphone toward nearby speakers.
- Wireless headset microphones: Position the microphone close to the mouth for consistent pickup, making sure the headset fits securely.
Choosing the right microphone for the room is just as important as finding the right location.
3. Minimize Background Noise
Microphones capture sound from their surroundings, and some pick up unwanted noise more readily than others. Air conditioning, projectors, computer equipment, hallway conversations, and hard reflective surfaces can all affect audio quality.
Whenever possible, position microphones away from these noise sources. In meeting spaces, consider how room acoustics, furniture, and participant seating affect sound pickup.
A well-designed audio system accounts for the room as a whole, rather than treating microphone placement as an isolated decision.
Where Should You Place Your Speakers?
Speaker placement determines how sound travels through a space and how evenly it reaches listeners. The goal is to deliver clear, consistent audio without creating distracting volume differences or unwanted feedback.

1. Position Speakers Toward the Audience
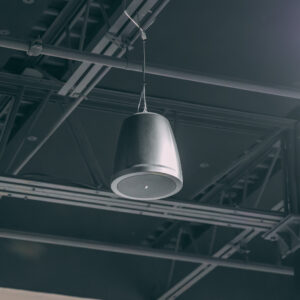
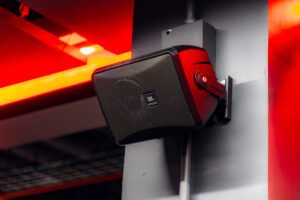
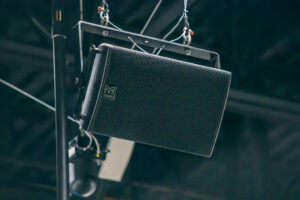
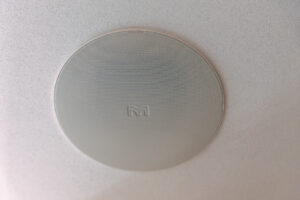
Speakers should generally face the people who need to hear them. In a conference room, this may mean positioning speakers along the front wall, mounting them overhead, or integrating them into a ceiling system.
For presentations, distribute sound so participants can hear comfortably from different seats. Avoid placing speakers where furniture, structural features, or other obstacles block the sound.
The right configuration depends on room dimensions, ceiling height, seating arrangements, and the type of content being played.
2. Avoid Placing Speakers Too Close to Microphones
One of the most common audio problems is feedback, which occurs when sound from a speaker re-enters a microphone, gets amplified, and comes back through the speaker again. This can create an unpleasant squealing or ringing noise.
Proper microphone and speaker placement can help reduce this risk.
Whenever possible, position microphones outside the primary coverage area of nearby loudspeakers. Directional microphones and speakers can also help control where sound is picked up and delivered.
However, placement alone cannot solve every feedback problem. Room acoustics, microphone characteristics, speaker coverage, and digital signal processing all play a role in maintaining stable audio.
3. Distribute Sound Evenly Throughout the Room
A single speaker may be sufficient for a small space, but larger rooms often require multiple speakers to provide consistent coverage.
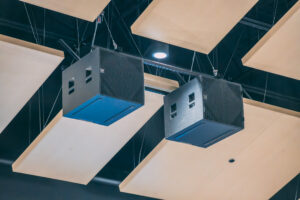
For example, a large conference room may benefit from distributed ceiling speakers, while a training room may need a front-of-room speaker system designed around its display and seating layout.
The goal is to avoid areas where audio is too loud, too quiet, or difficult to understand. Professional system design considers speaker spacing, direction, output levels, and room acoustics to create a balanced listening experience.
Common Microphone and Speaker Placement Mistakes to Avoid
Even a quality audio system can underperform when its components aren’t positioned or configured correctly.
Watch for these common mistakes:
Placing microphones too far from speakers: A microphone that is too far from the person speaking may capture excessive room noise and make voices sound distant.
Pointing speakers directly at microphones: This can increase the likelihood of feedback and disrupt presentations or meetings.
Ignoring room acoustics: Hard surfaces, high ceilings, and reflective walls can cause echoes and reduce speech intelligibility.
Using too few speakers for the space: Insufficient speaker coverage can leave some listeners struggling to hear while others experience excessive volume.
Skipping system testing: Audio should be tested under realistic conditions, with participants speaking from different positions and remote attendees confirming what they hear.
Addressing these issues early can help prevent recurring audio problems and improve the overall user experience.



Get More From Your Audio-Visual System With TSI Global
Effective microphone and speaker placement involves more than finding a convenient spot for each device. It requires an understanding of room acoustics, equipment capabilities, speaker coverage, microphone pickup patterns, and how people use the space. With excellent vendor partnerships such as Shure and Martin Audio and access to solutions for virtually every audio need, TSI Global can help you find the right products and technology to deliver the best performance for your space.
TSI Global designs and integrates professional AV solutions for conference rooms, corporate offices, educational facilities, houses of worship, hospitality environments, and other commercial spaces. Our team considers your room layout, communication needs, and existing technology to help create an audio system that performs reliably.
Whether you’re upgrading a single meeting room or planning an integrated AV solution across your facility, the right system design can improve speech clarity, support collaboration, and help every participant stay connected.
Need help improving your room’s audio? Contact TSI Global to discuss professional audio-visual solutions designed around your space and your needs.